This tutorial shows how to use the Merge Layer Exception tool
to create a new layer that subtracts the exception layer from the original
layer. It also shows how to use the Description Cleanup Tool.
Note: This tutorial was written using v6.0.0 of Metes
and Bounds. If you are using a newer version, your screenshots may vary. But the basic functionality should be the same. Also, this tutorial assumes that are using a registered
Pro edition. If you are using the Basic or Free edition, not all of
these features will be available.
Setting Up the Drawing:
Start by creating a New Drawing.
Set the drawing's Origin to Center of Drawing.
Creating the Lot Layer:
Start by creating the original description layer and the exception layer.
Choose Description Cleanup Tool from the Tools menu.
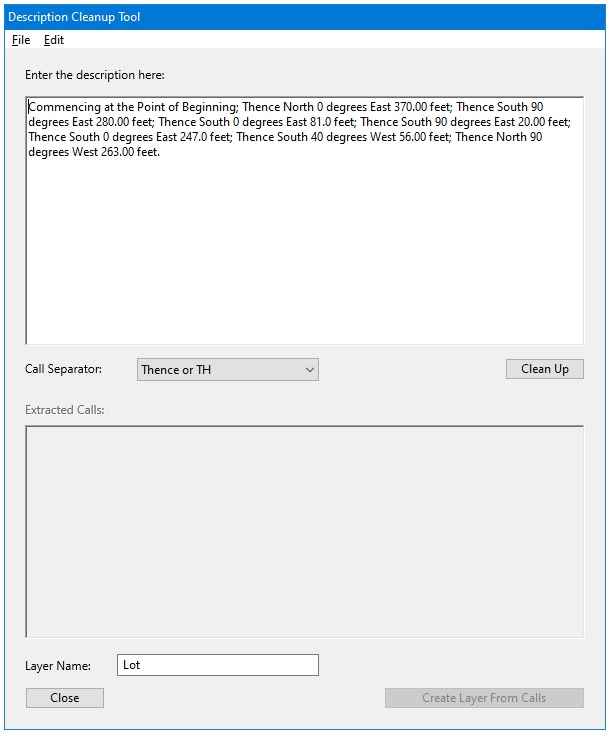
Copy and paste this description into the "Enter the description here" box:
Commencing at the Point of Beginning; Thence North 0 degrees
East 370.00 feet; Thence South 90 degrees East 280.00 feet; Thence South 0
degrees East 81.0 feet; Thence South 90 degrees East 20.00 feet;
Thence South 0
degrees East 247.0 feet; Thence South 40 degrees West 56.00 feet; Thence North
90 degrees West 263.00 feet.
Set the Call Separator popup menu to "Thence or TH".
Set the Layer Name to Lot.
Press the Clean Up button. This will extract the calls from the description and place them into the Extracted Calls box at the bottom.
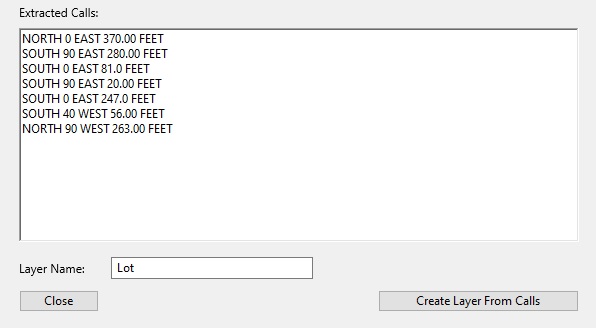
Now press the Create Layer From Calls button to create the Lot layer.
Creating the Exception Layer:
Copy and paste this exception description into the "Enter the description here:" box.
Commencing at the Point of Beginning; Thence North 0 degrees East 250.00 feet; Thence South 90 degrees East 300.00 feet; Thence South 0 degrees East 208.0 feet; Thence South 40 degrees West 56.00 feet; Thence North 90 degrees West 263.00 feet.
Set the Layer Name to Exception.
Press the Clean Up button to extract the calls.
Press the Create Layer From Calls button to create the exception layer.
Press the Close button to close the Description Cleanup Tool.
The drawing should now look like this:
Touching up the Drawing:
Next, lets update several of the layer drawing options to help clarify what is being shown on the screen.
First, make sure that the Exception layer is selected in the layer selection popup menu.
Now open the Fill Options.
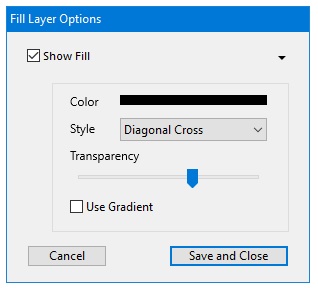
Check the Show Fill checkbox.
Click the color bar and set it to black.
Choose Diagonal Cross from the Style popup menu.
Press the Save and Close button.
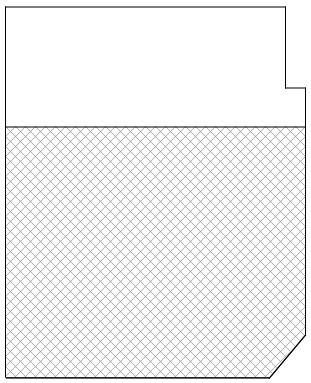
The drawing should now look like this:
Now open the End Point Options.
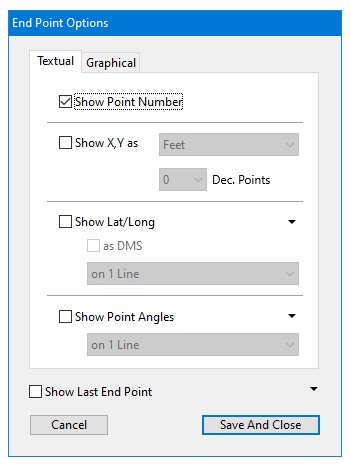
Check the Show Point Number checkbox on the Textual tab.
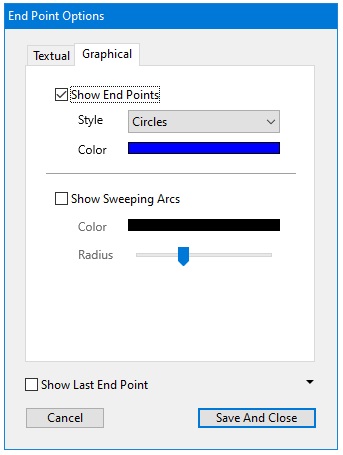
Check the Show End Points checkbox on the Graphical tab.
Now choose Apply to All Layers from the widget popup menu. This will apply these end point settings to all of the layers.

To help tell the different layer end points apart, click on the End Points Color bar again and select a different color, such as orange.
Press the Save and Close button to close the End Point Options window.
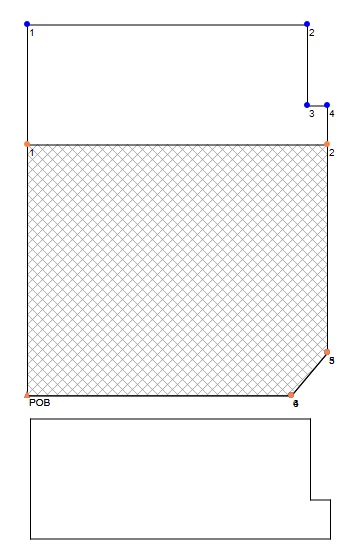
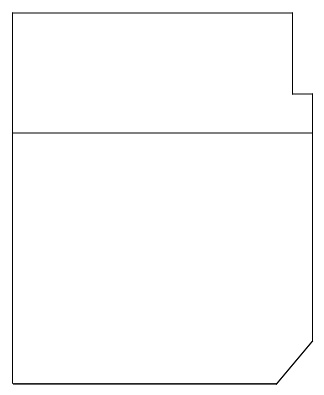
The drawing should now look like this:
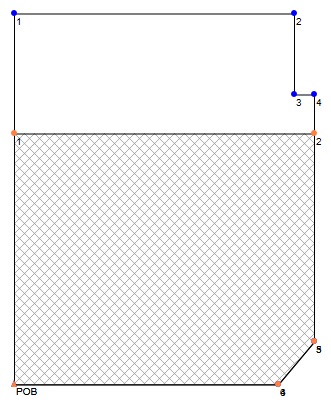
The cross hatch section shows the exception. The end point options show the end points that make up the area of the lot that remains. These end point values will be used to merge the layers into the remaining area layer.
Merging the Layers:
Now choose Merge Layers->Merge Layers - Endpoints... from the Tools menu.
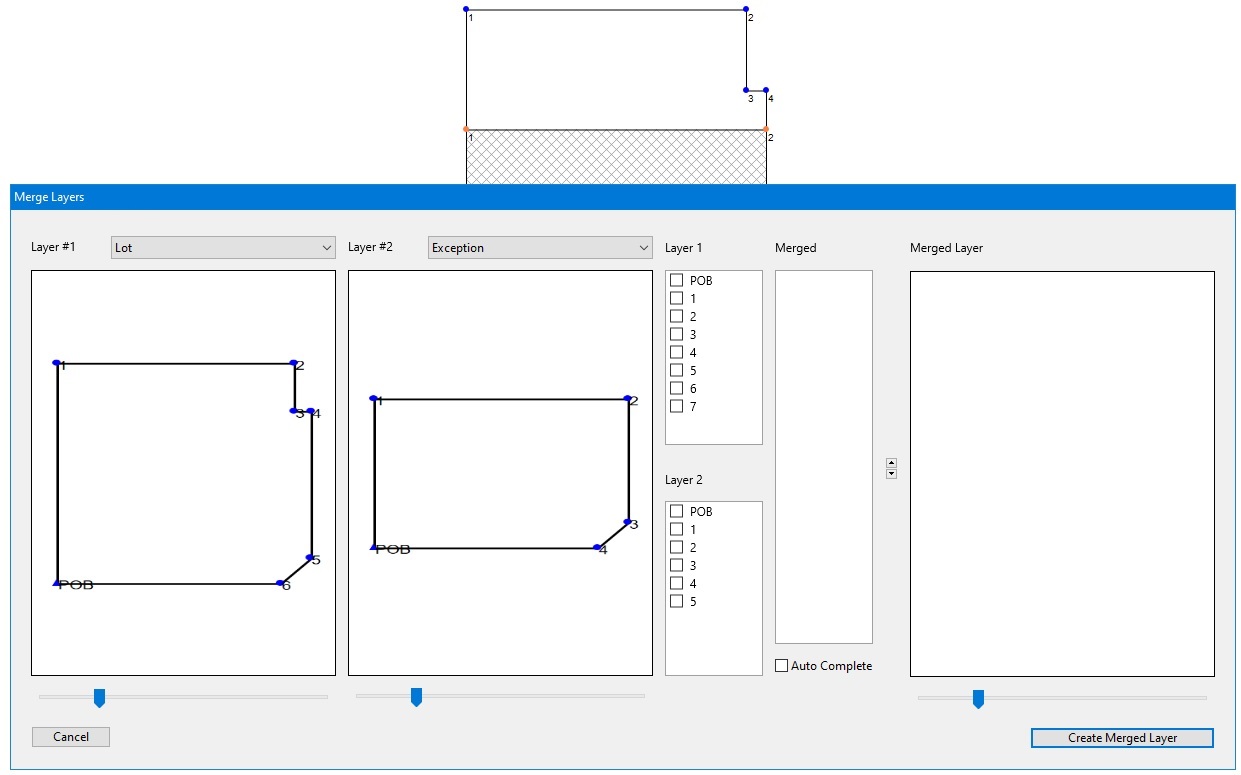
Set Layer #1 to the Lot layer.
Set Layer #2 to the Exception layer.
For this tutorial, it doesn't really matter which end point we start with. However, it can make a difference if you setup calls leading to the new layers POB.
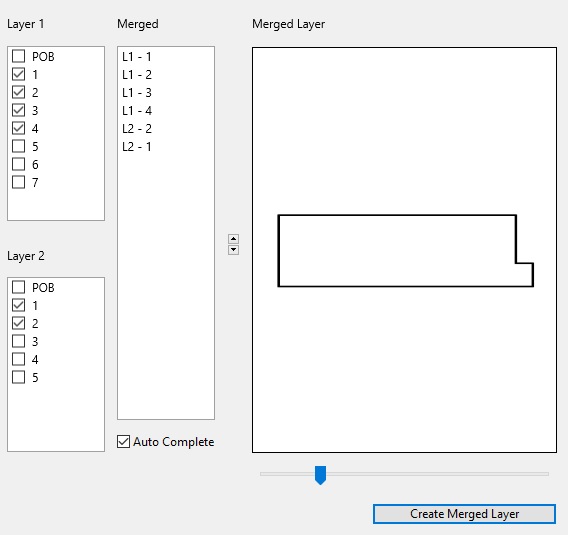
In the screenshot above, we can see which endpoints make up the new layer. Start by selecting end point 1 from the Lot layer. Do this by checking the checkbox next to 1 under Layer 1. You will see that end point show up in the Merged list box. Finish selecting end points 2, 3 and 4 from Layer 1. The next end point that we want to select is the second end point of Layer 2. So check the checkbox next to the 2 under Layer 2. Then check end point 1 for Layer 2.
To finish the layer, check the Auto Complete checkbox.
The Merged Layer drawing should now look like the non-excepted area of the Lot description.
Press the Create Merged Layer button to create the new, merged layer.
The drawing should now look something like this: